There’s a moment in every South African expat’s life in the UK when they walk past the biltong section in a supermarket, pay £5 for a 30g bag of something soft and over-seasoned, and think: I could do better than this.
That moment happened to me about a year ago. I’d been making biltong at home for a while — hanging strips from a wooden frame with a fan pointed at them, the way most people start. It worked. But it wasn’t controlled, it wasn’t documented, and it definitely wasn’t something I could scale or share with anyone.
So I decided to build a proper drying box. Not buy one — build one.
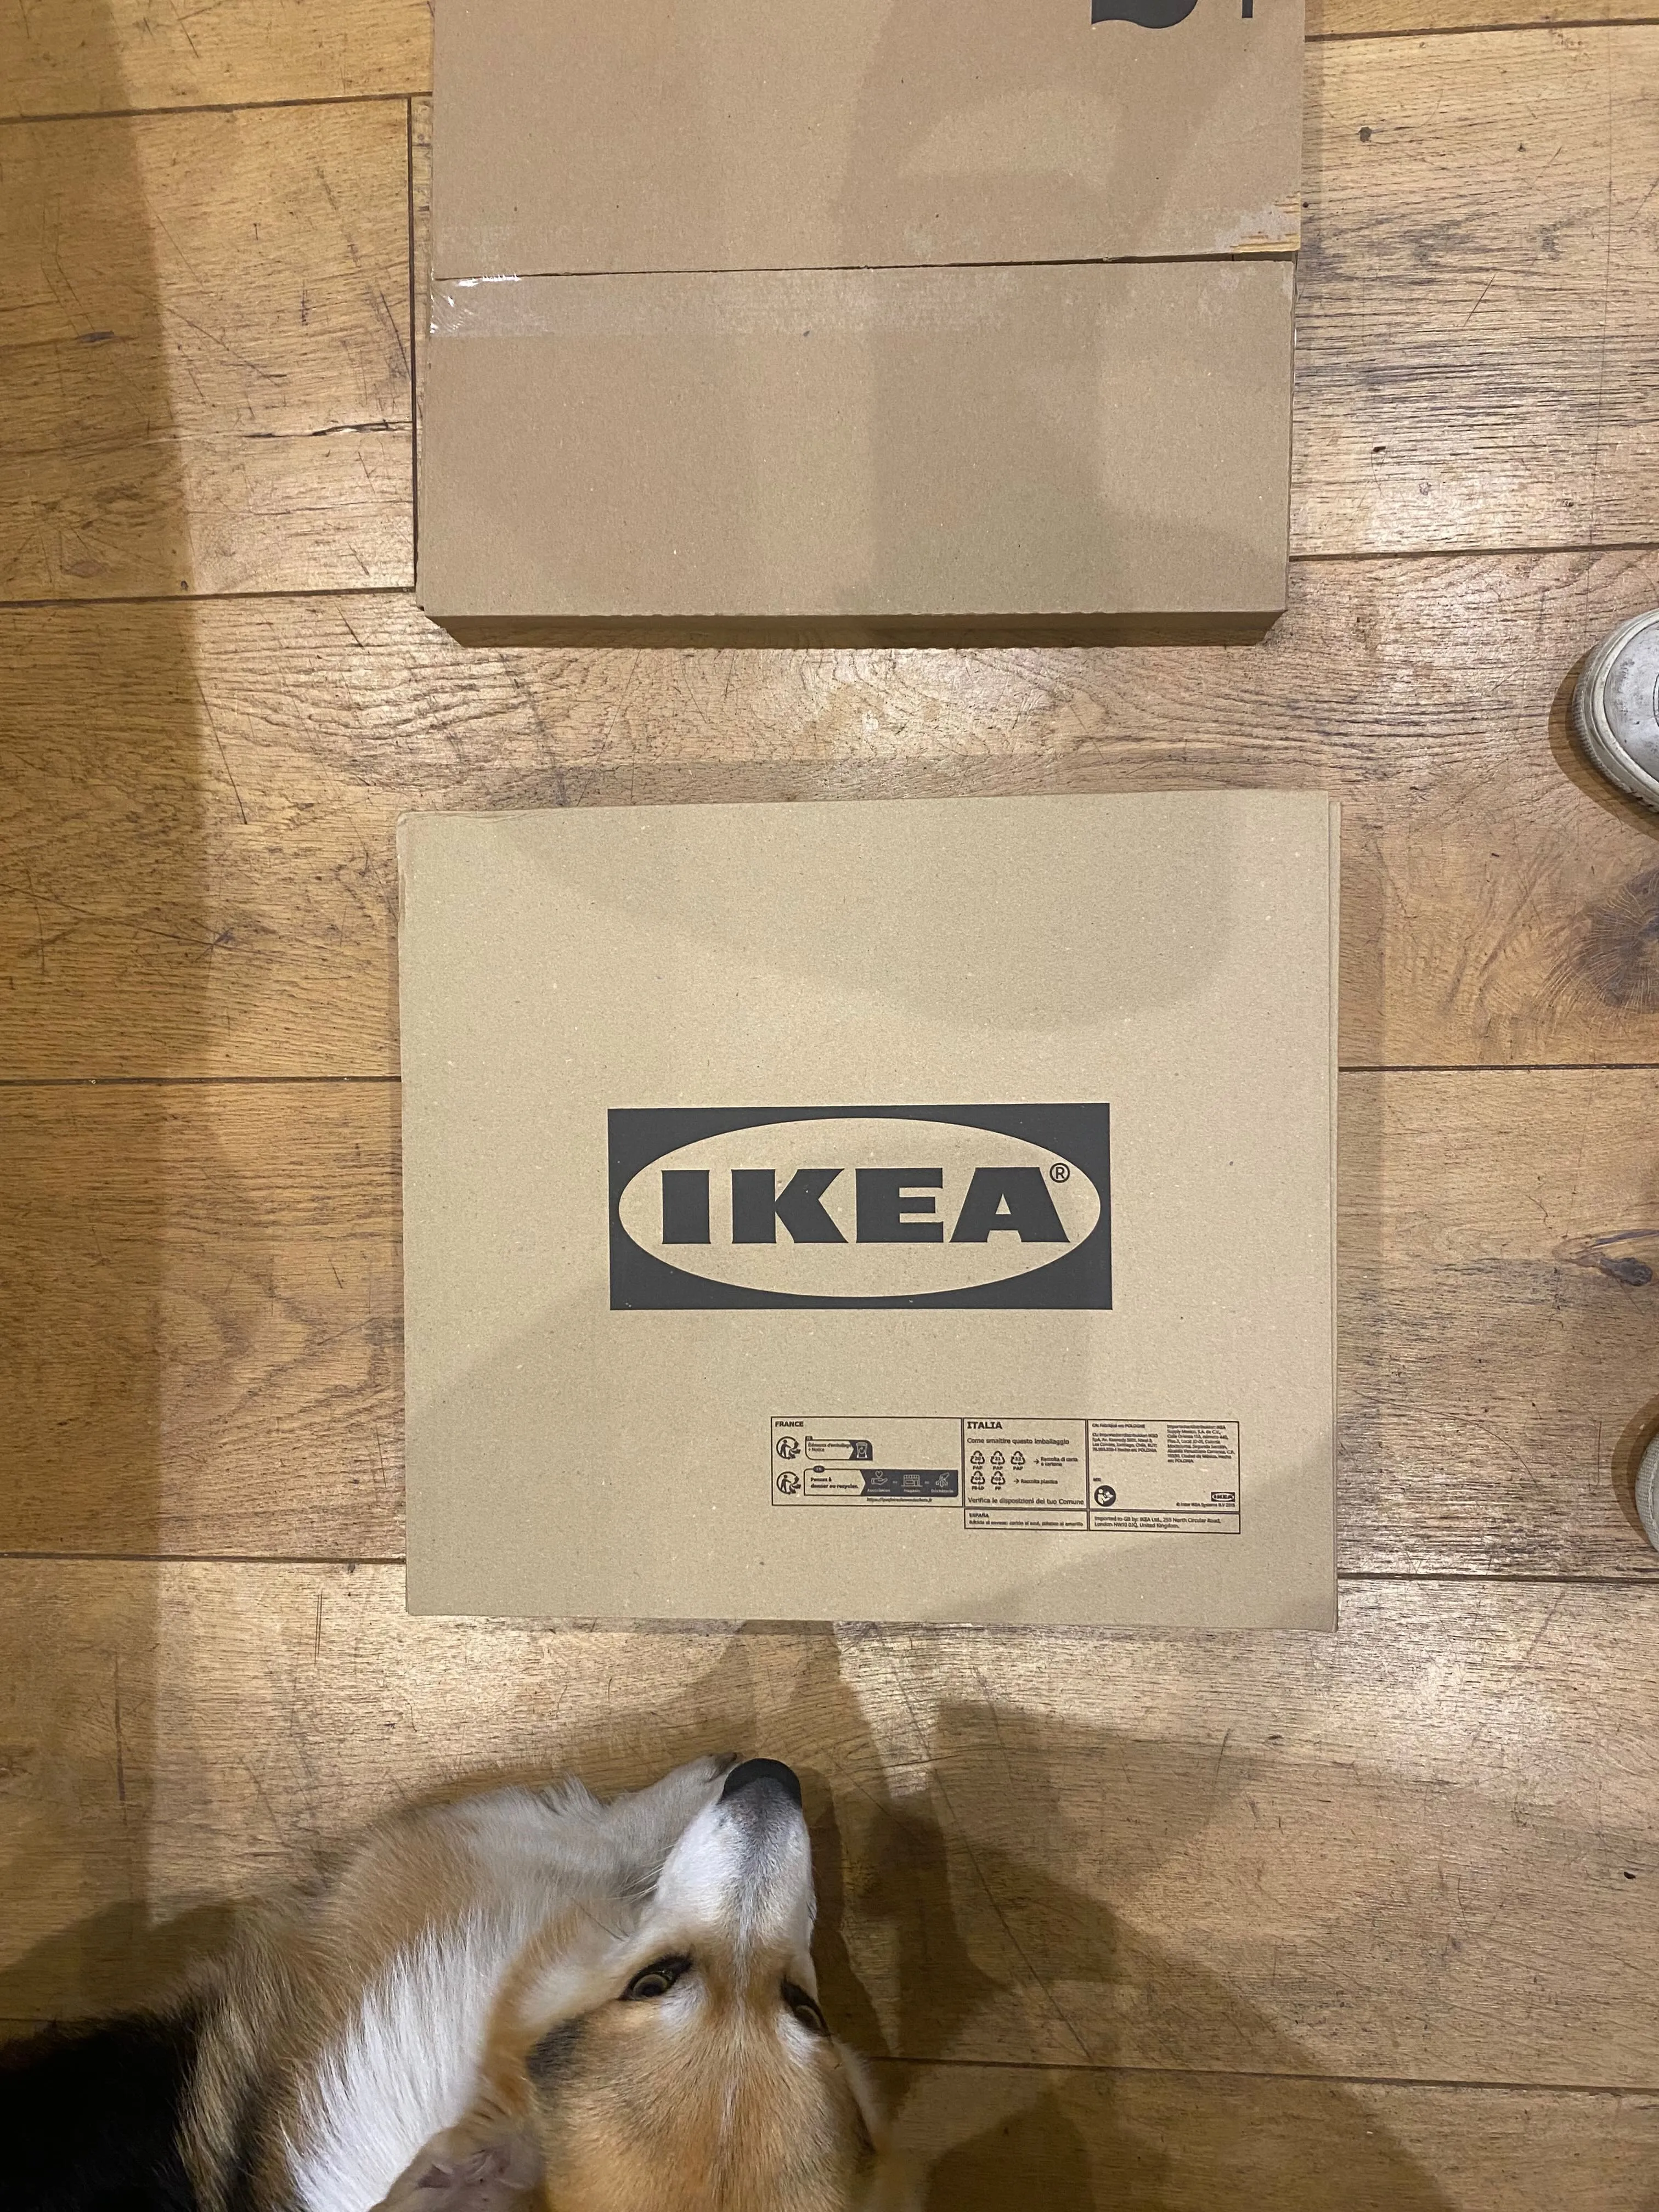
Why IKEA?
The EKET cabinet (35×35×35cm) is almost perfectly sized for a small batch of biltong. It’s rigid, white (easy to clean), cheap enough that drilling holes in it doesn’t feel like a crime, and widely available. Every decision in this build had to be repeatable — if I was going to write a guide that someone else could follow, I couldn’t spec out custom-cut MDF or specialist enclosures.
The EKET costs around £25. That felt like the right starting point.
What the build actually involves
At its core, a biltong box needs three things: airflow, gentle heat, and somewhere to hang the meat. Everything else is refinement. My version adds a Raspberry Pi Zero 2 W, a temperature and humidity sensor, a relay-controlled PTC heater, and an OLED display — so you can monitor a batch without opening the door and disrupting airflow.
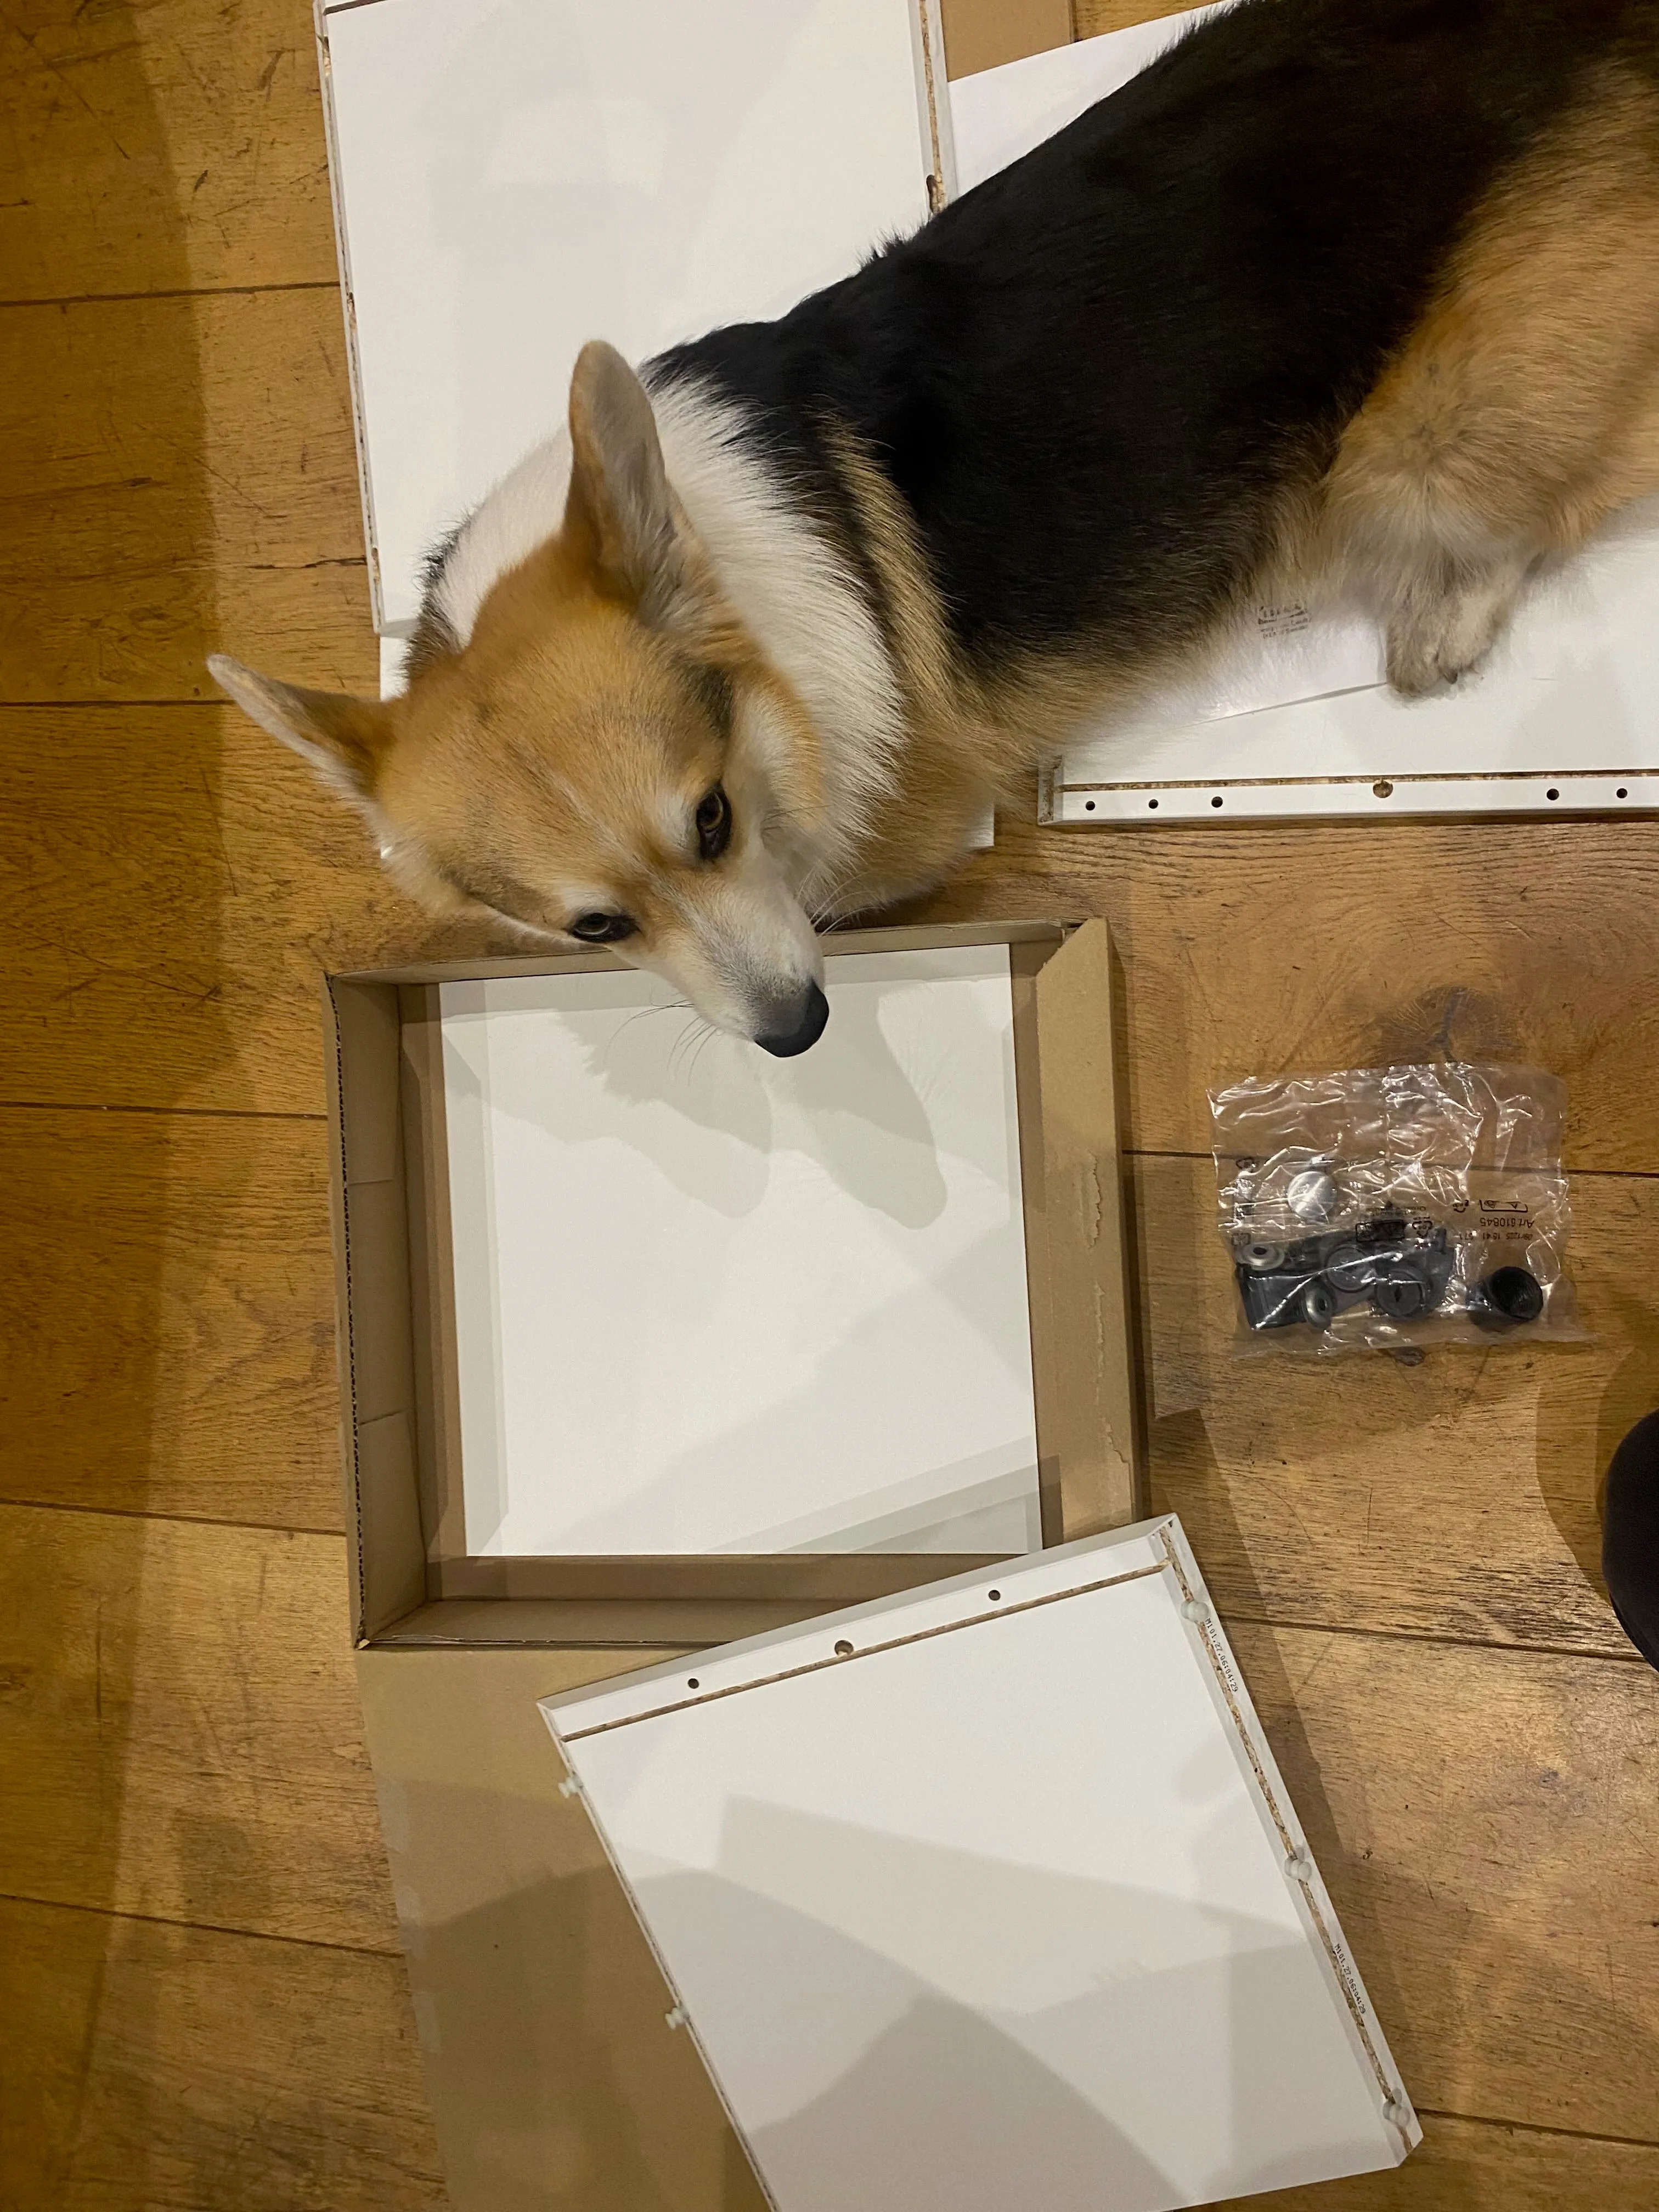
But before any of that electronics work could happen, I needed a box. Which meant measuring, marking, and drilling into brand new IKEA furniture while my dog Bryn supervised.
He was not helpful. He was, however, very cute.
The first cuts
The two main modifications to the EKET are a fan aperture in the top panel (exhaust) and a circular cutout in one side wall for the heater. Both need to be centred precisely — if they’re off, the fan won’t seat flush and the heater won’t sit at the right height relative to the interior.
I used a steel rule, a tape measure, and a pencil to mark both positions before touching a drill. Measure twice. Cut once. Standard stuff, but worth being explicit about when you’re working with a finished panel that can’t be un-drilled.
What’s next
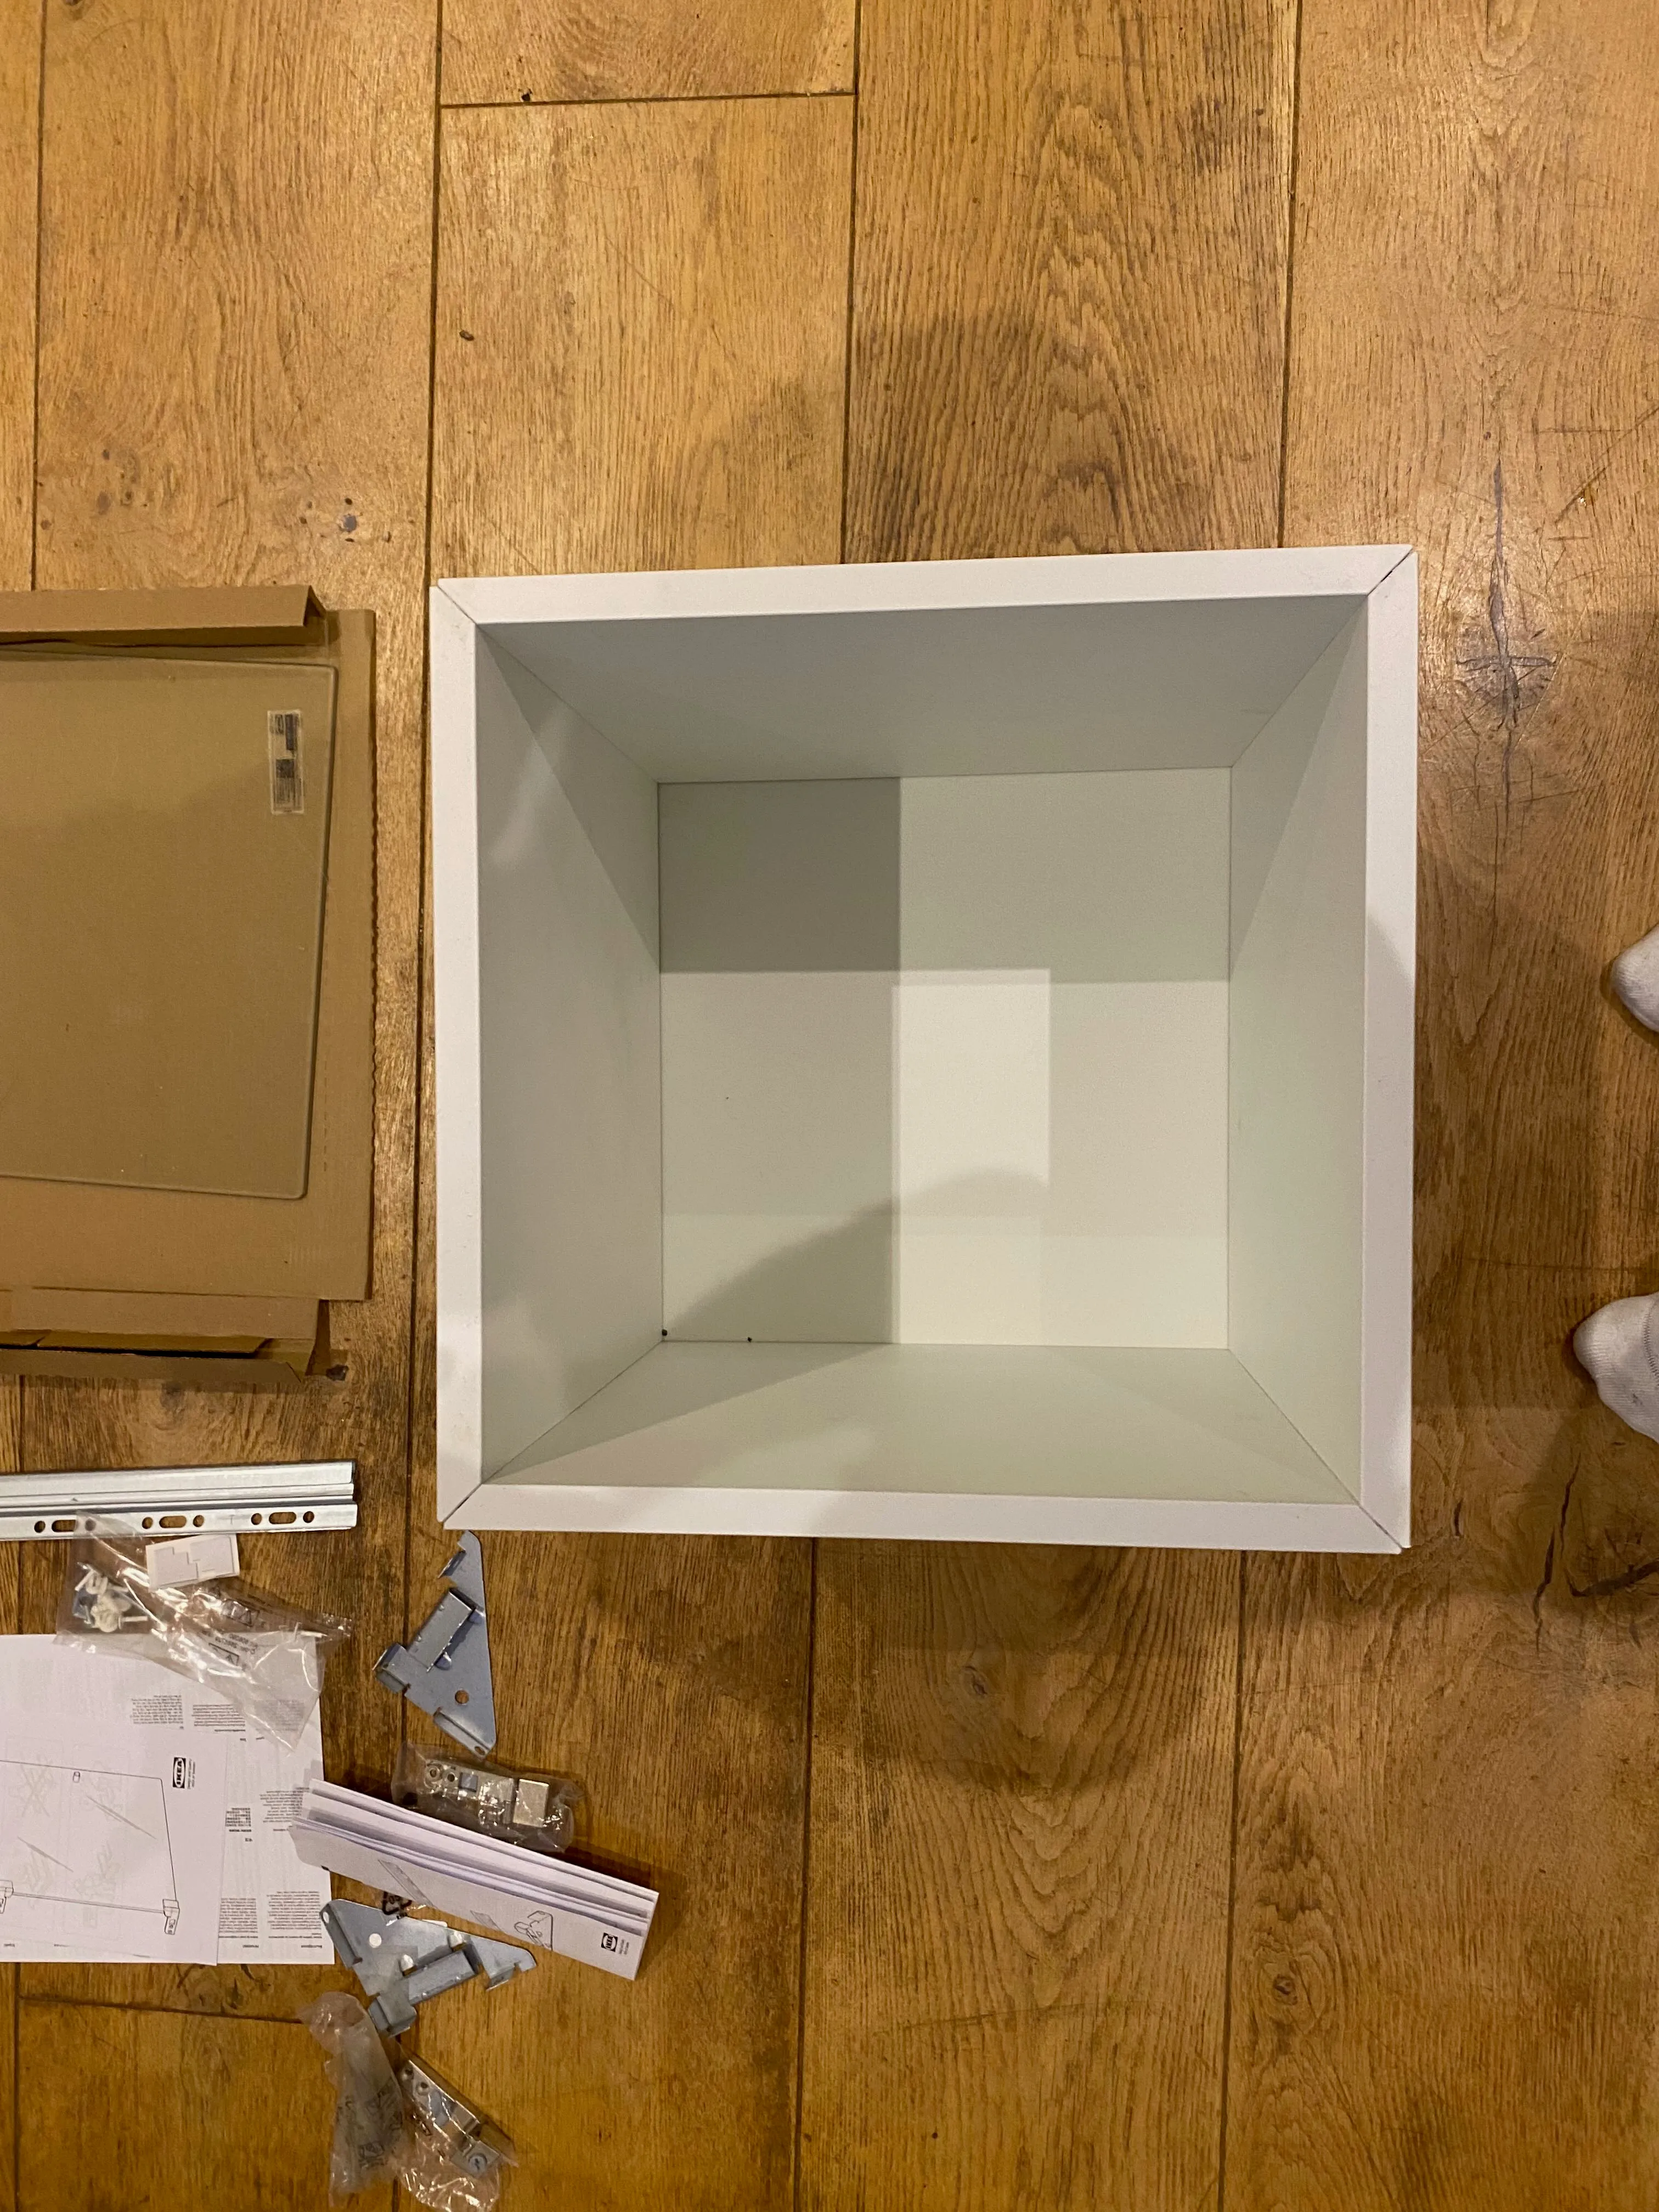
The box is now assembled with the fan and heater physically mounted. The next step is wiring everything back to the Pi and getting the sensor readings live. There’s a broken soldering station in the way of that right now — but a replacement is arriving this week.
If you want to follow the build, I’m posting the full step-by-step as it happens. The end goal is a PDF build guide you’ll be able to download here — everything I’ve learned, in a format someone else can actually follow.
More soon.